

Diy Roll Top Desk Refinish
Ringlet-top desks are such classy statement pieces in any home. Information technology'due south so rare to discover one in splendid condition. They are notorious for being difficult to paint considering you tin easily gunk up the tambour (rolling portion) with pigment causing information technology not to roll at all. If you are lucky enough to come across one, here are some tips for a successful transformation.
You lot Volition Need:
This mail service may contain affiliate links at no actress cost to yous. Run into my Total Disclosure Hither.
- Brushes and half-dozen″ rollers
- Wood Filler
- Mouse Sander with depression (60) and higher (180) sanding pads.
- Zinsser 123 Primer – click here for the current price
- White Paint – I used Behr Ultra in Ultra White Satin
- Base of operations Coat for Faux Stain – I used Behr Love Butter Flat
- Gel Stain – I used Minwax Gel Stain in Walnut
- New Hardware
- Minwax Wipe-on Polyurethane.
- Unfinished Jewelry Boxes with Drawers (click here) – Optional.
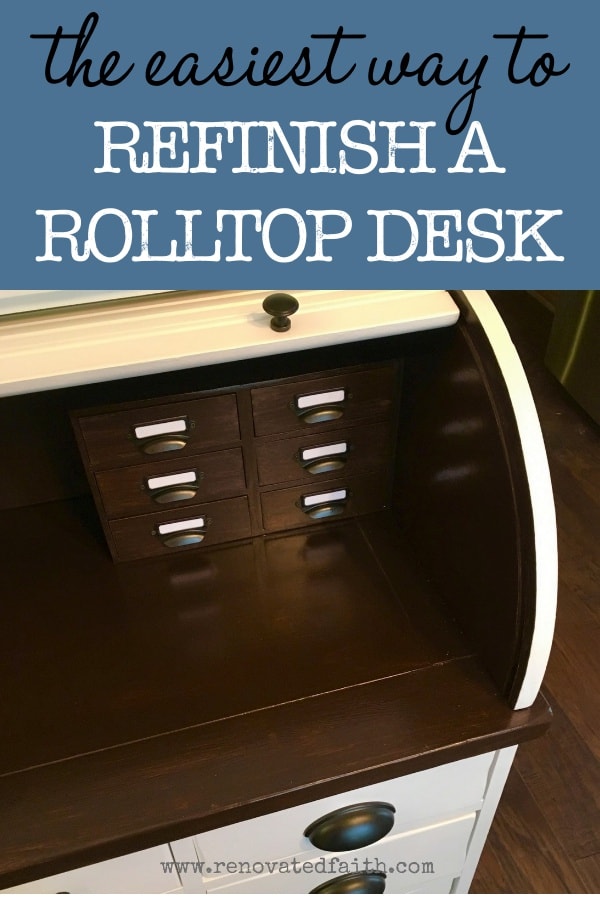
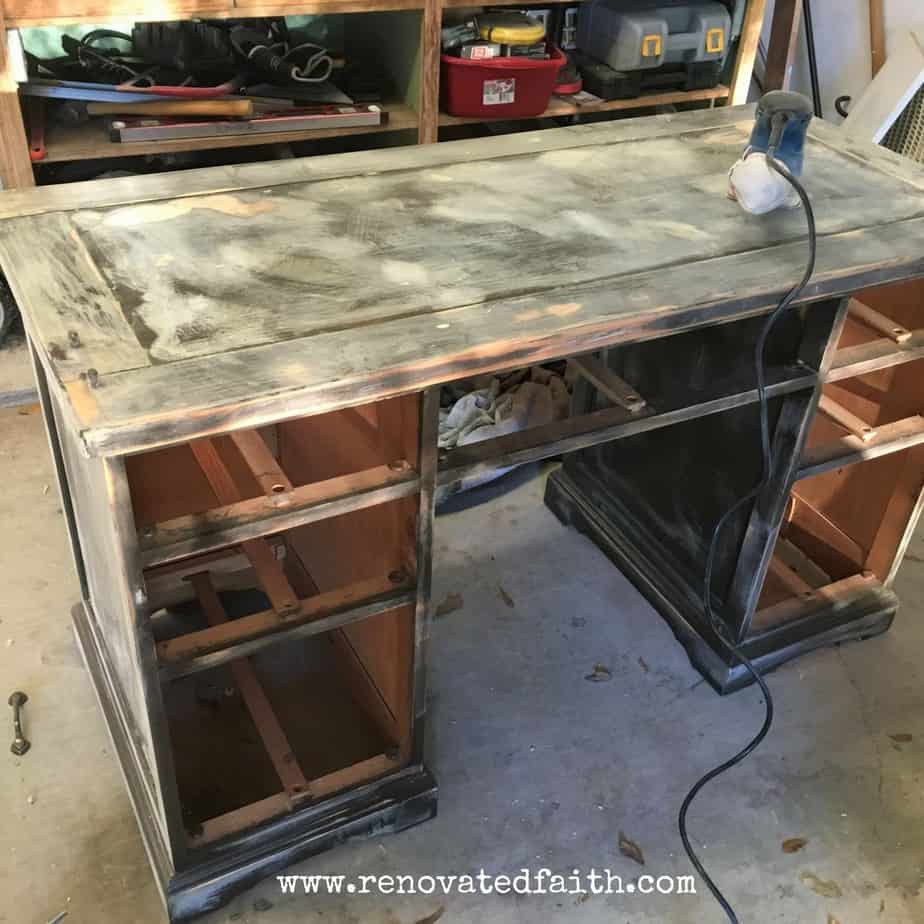
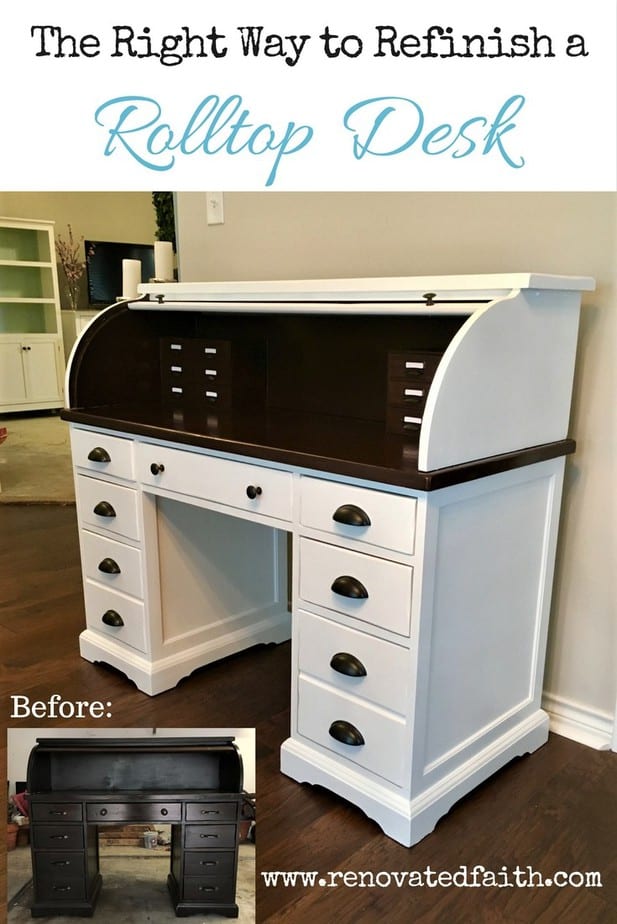
I stumbled upon this desk-bound on a Facebook page that a friend was selling. This desk-bound was perfect to redo because the top portion comes off and the tambour simply slides out making it so much easier to refinish. The desk was structurally in not bad shape just the surface needed some love.

I knew I was going to sell this piece and so I decided to do the surface a nighttime stain using my gel stain method and would paint the rest white. I realized that the plastic sleeve on both sides that the tambour slides into was already dark brownish so I tried to spray paint it white to friction match what would exist white. Permit me salvage a little spray paint and a lot of frustration by telling you that was a horrible idea.
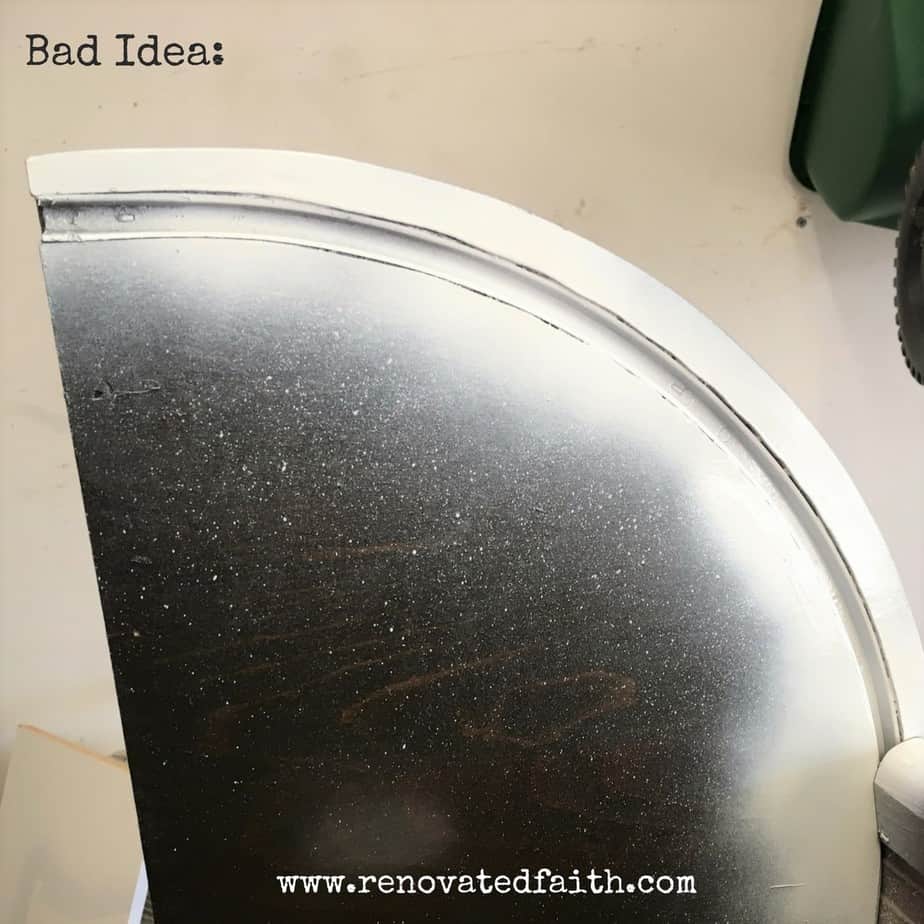
The spray pigment started peeling abroad when I moved the tambour upward and down. Information technology looked horrible and then I spent over an hr scraping the spray paint out with a putty knife. I decided to faux stain the interior of the top to ameliorate lucifer the plastic sleeves as there was no piece of cake style to change their color.
Spray painting the tambour is also a horrible idea. Ask me how I know…
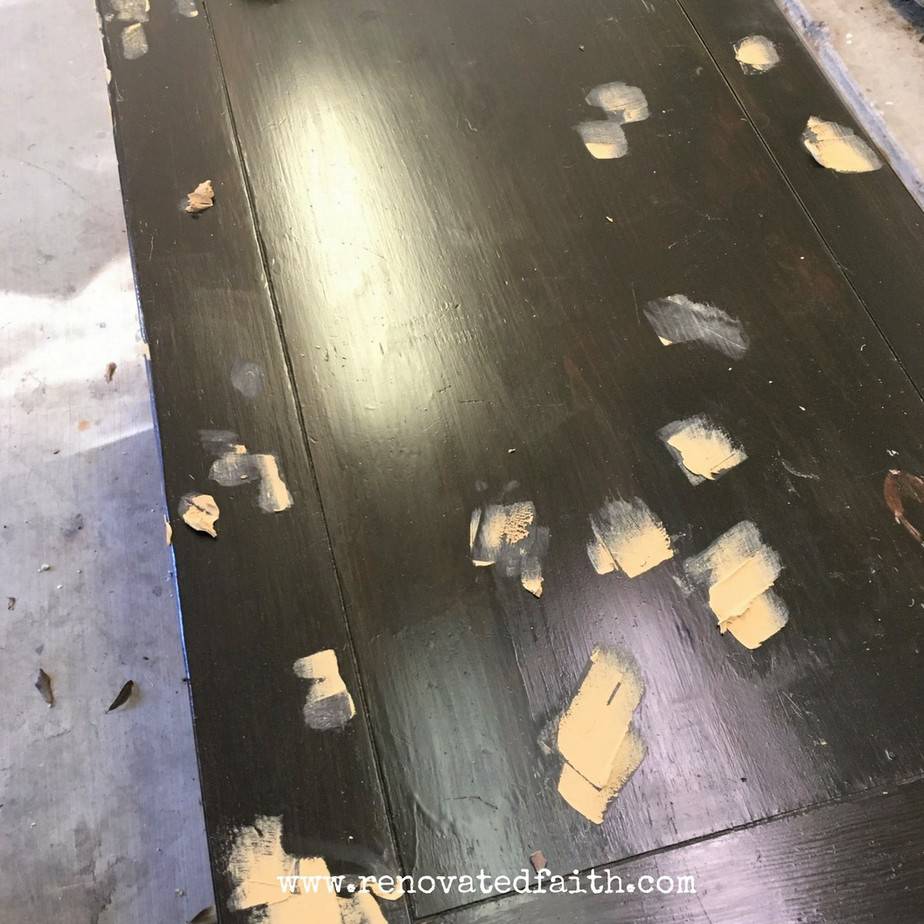
I took off the hardware and filled obvious holes, scratches, and dents on the desk with wood filler.
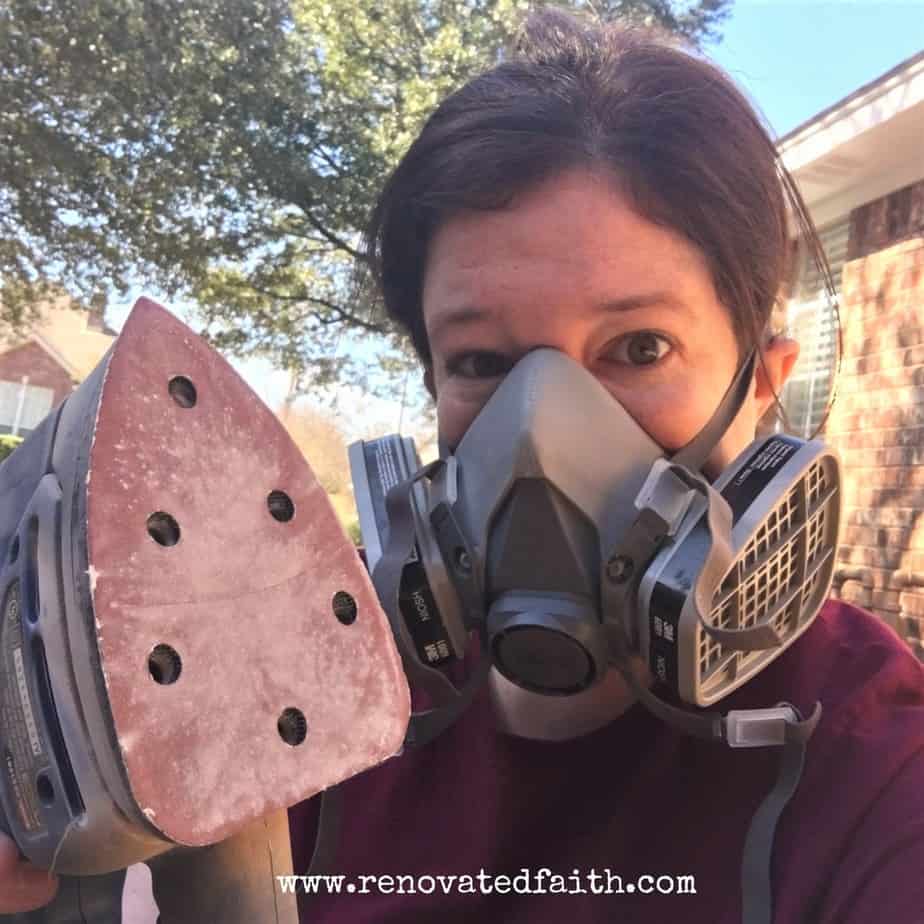
After 48 hours of drying, I sanded the entire desk with a rough sandpaper pad (60) with my mouse sander. Have I mentioned lately how much I honey my sander?!? Beneath is a picture show of the two of us! (Likewise, wearable a respirator or mask when sanding the wood filler because those tiny particles tin get in your lungs…No bueno!)
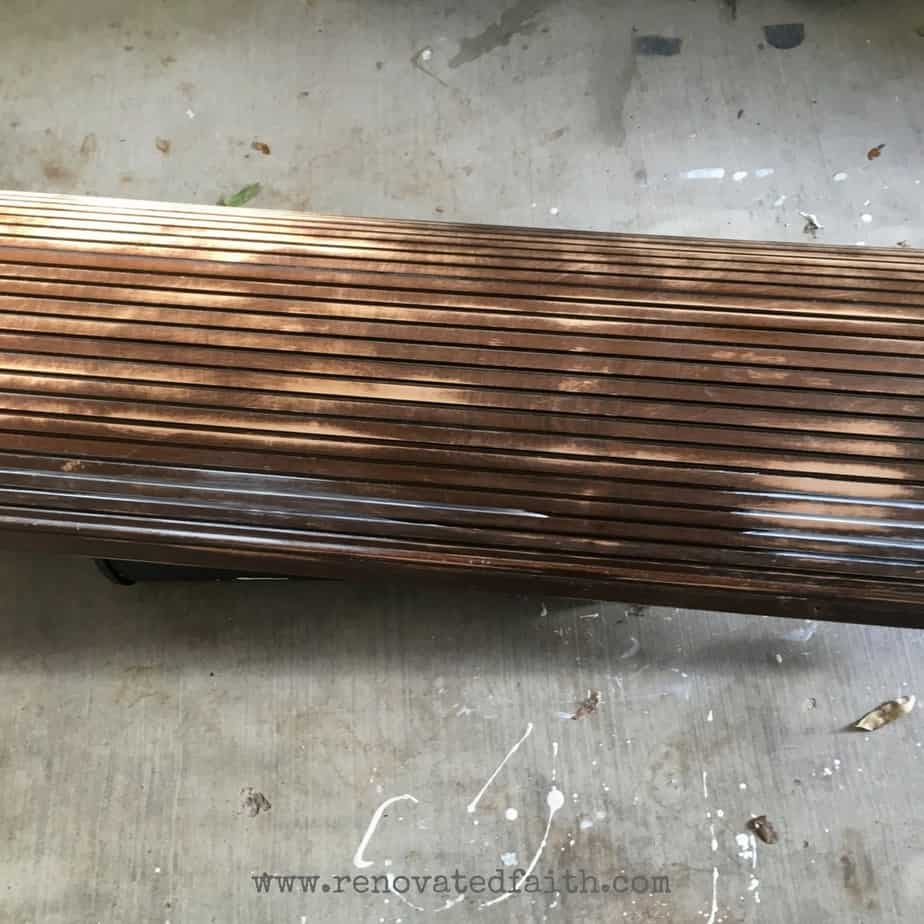
Sand the tambour by laying it out apartment on the basis and sand as you would the residuum of the desk-bound.

Afterward sanding it was fourth dimension to prime number. Once again I used Zinsser 123 water-based primer. I just found out they fabricated a spray pigment version which I will accept to effort out on my next projection. Get a dainty thick coat of primer on your piece of furniture. You'll notice that I didn't get whatever primer on the groove the tambour slides into.
Afterwards priming the residuum of the desk, I laid the tambour over a circular kitchen garbage tin that was on its side. I wanted to open upwardly the creases so I could get primer in each crease between the wood slats. I was able to practise this with a thin coat of primer.
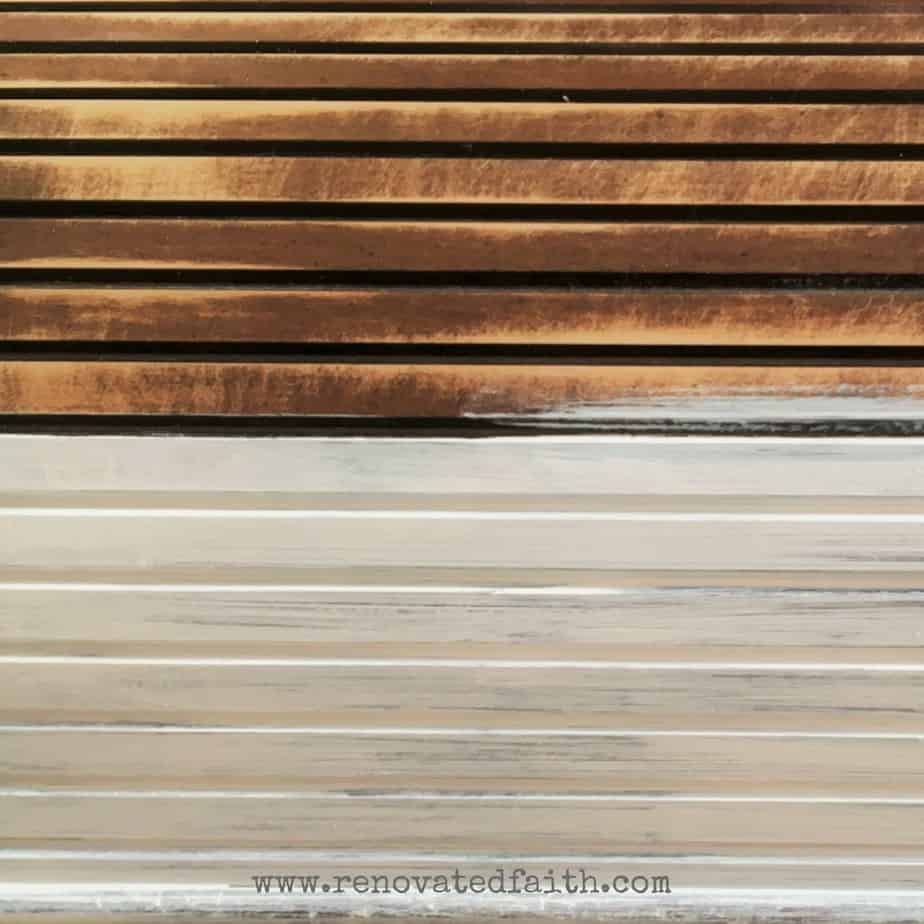
Get just enough primer to fill in the dark portion in between the wood slats. Use your brush to wipe off any backlog and wipe your brush on some paper if you lot accept too much pigment on your brush. Yous have time to wipe off the excess before it dries. What you don't want is a thick layer of moisture, drippy paint on the tambour or the paint will crack once it dries. The Zinsser 123 Primer is perfect for this application considering it is thin simply clings well to the grooves while covering well.
At this bespeak, fill any remaining holes, dents, or scratches on the rest of the desk. You should at present exist able to run across them easier with the piece primed. Sand those parts afterwards they are dry out.
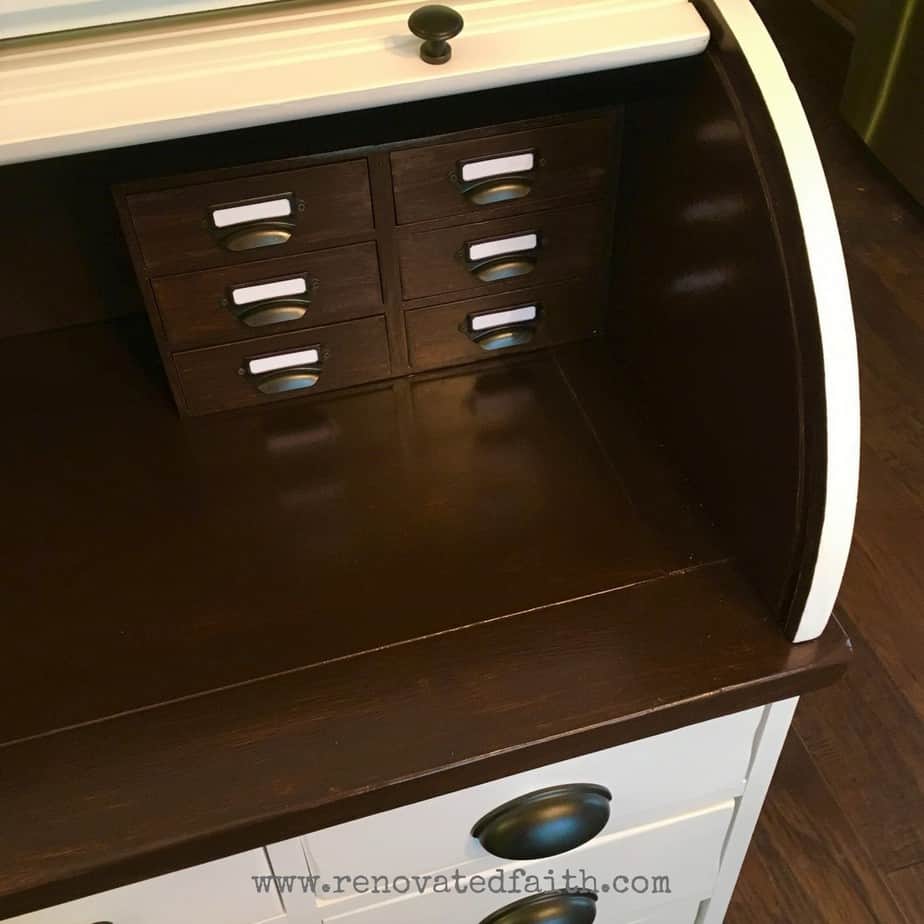
Halfway into this process, I realized that this desk didn't accept any of the cute 'menu itemize' style drawers that you so ofttimes see on these desks. I decided to add some using some unfinished jewelry boxes I plant online here.
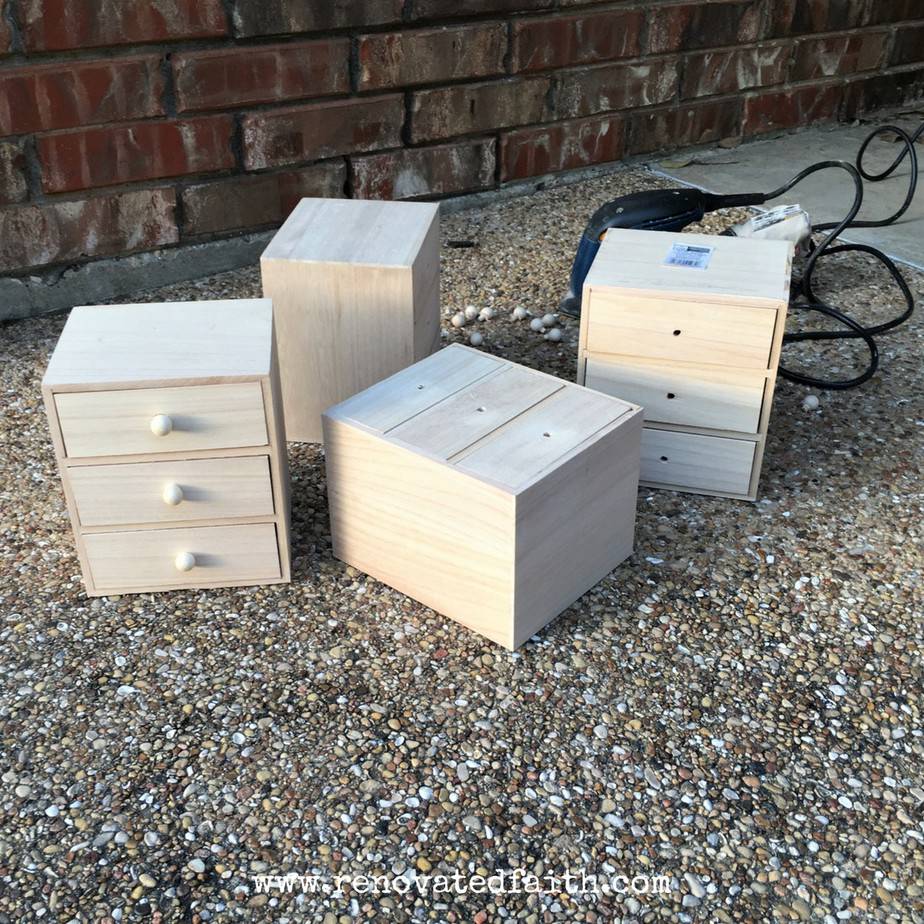
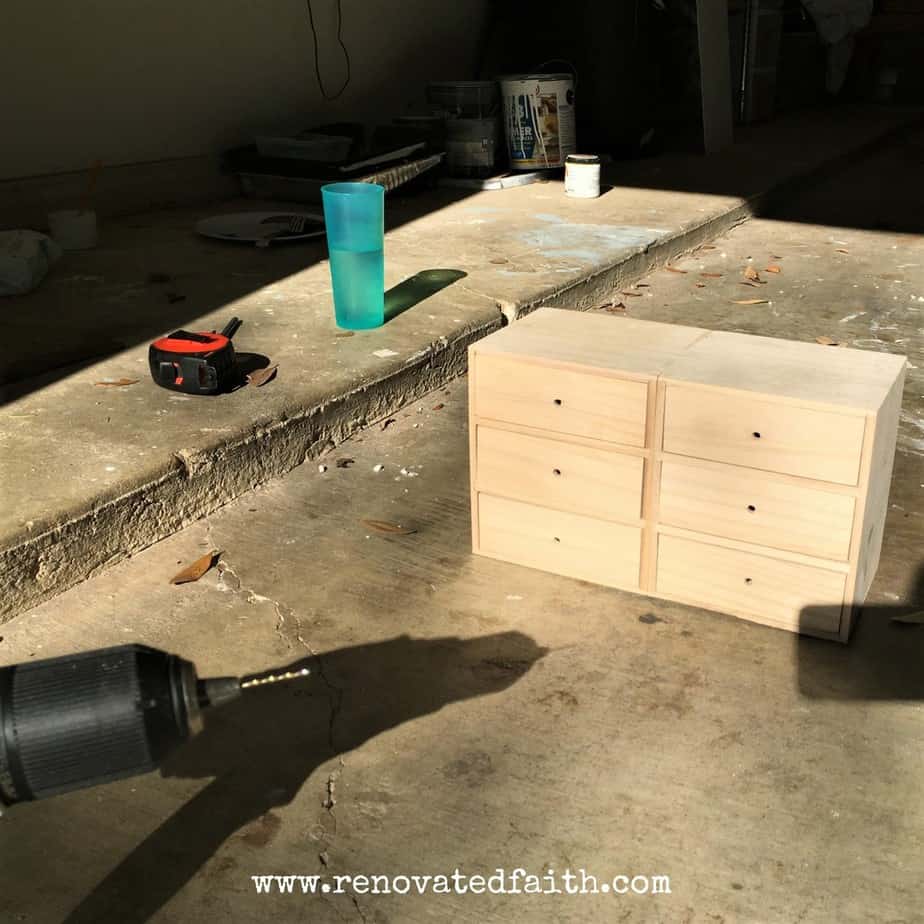
I bought 2 for each side and glued them together with carpenter's gum and clamped them overnight to dry. I also pulled off the wooden knobs, filled the holes, and then made holes for some beautiful pulls. Make your holes before you pigment because you don't want to risk screwing up the final finish. I then glued the drawers onto the inside of the desk using wax paper to ensure the glue didn't seep onto the desktop.
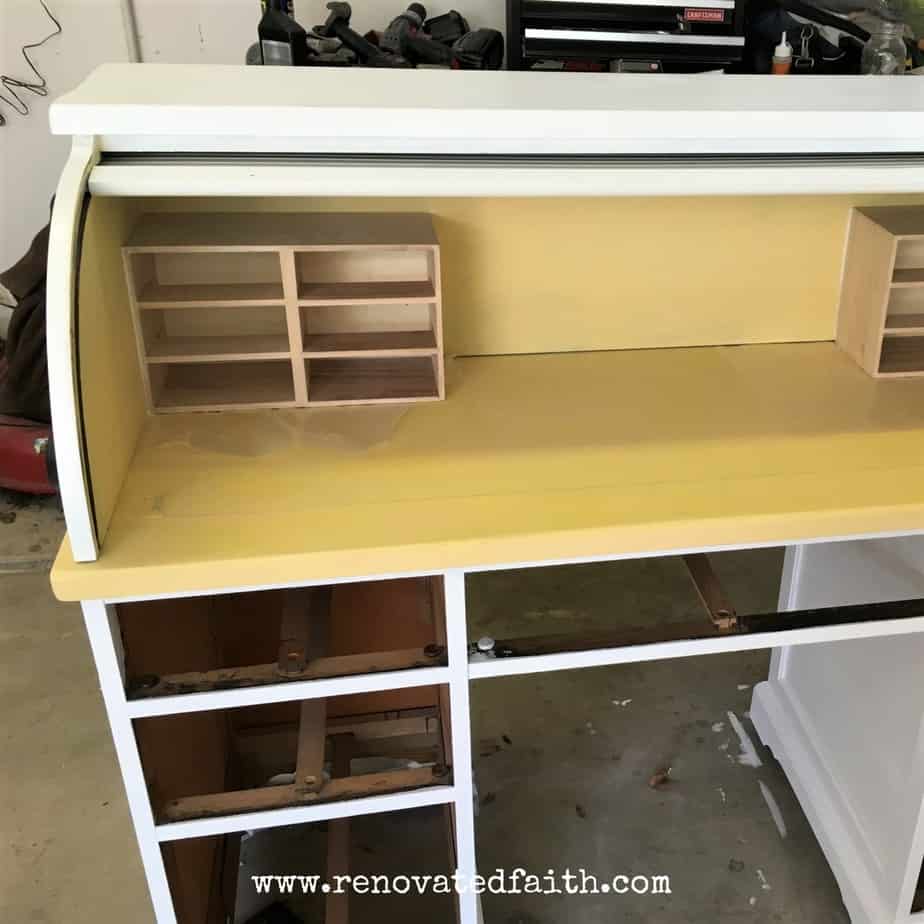
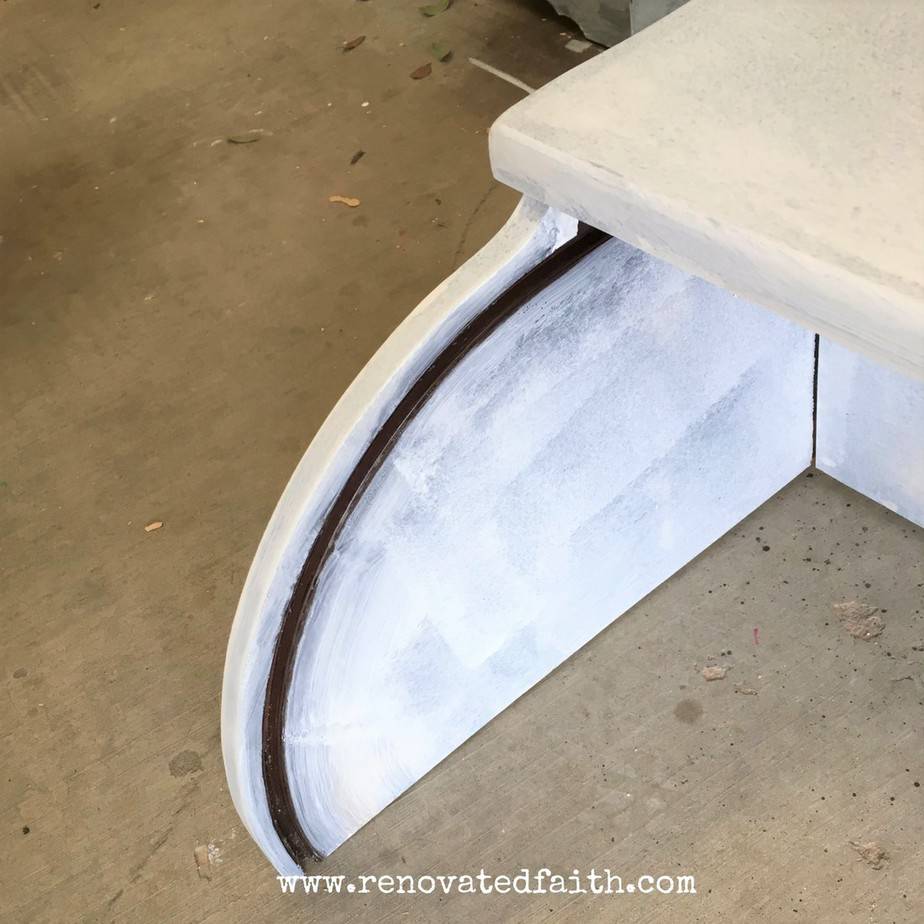
I started painting the desk with the yellow base glaze on the places I would faux stain and used white on the rest. It took a couple of coats of white paint because the desk was so nighttime.
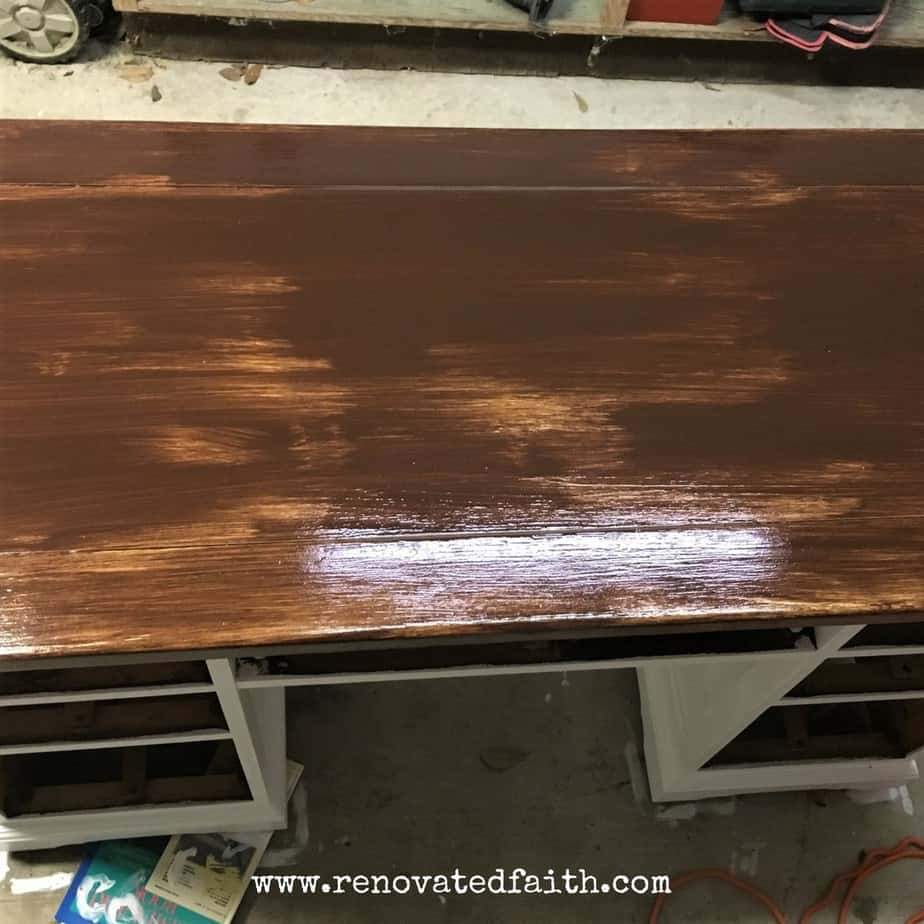
I used the aforementioned procedure on this desk-bound every bit I did with the end tables in my post How To Gel Stain Wood Here is a pic of the first coat of gel stain. You want to go out some sections just partly covered in the first coat to make the second glaze a picayune more than translucent and "wood-grain-like" in those parts.
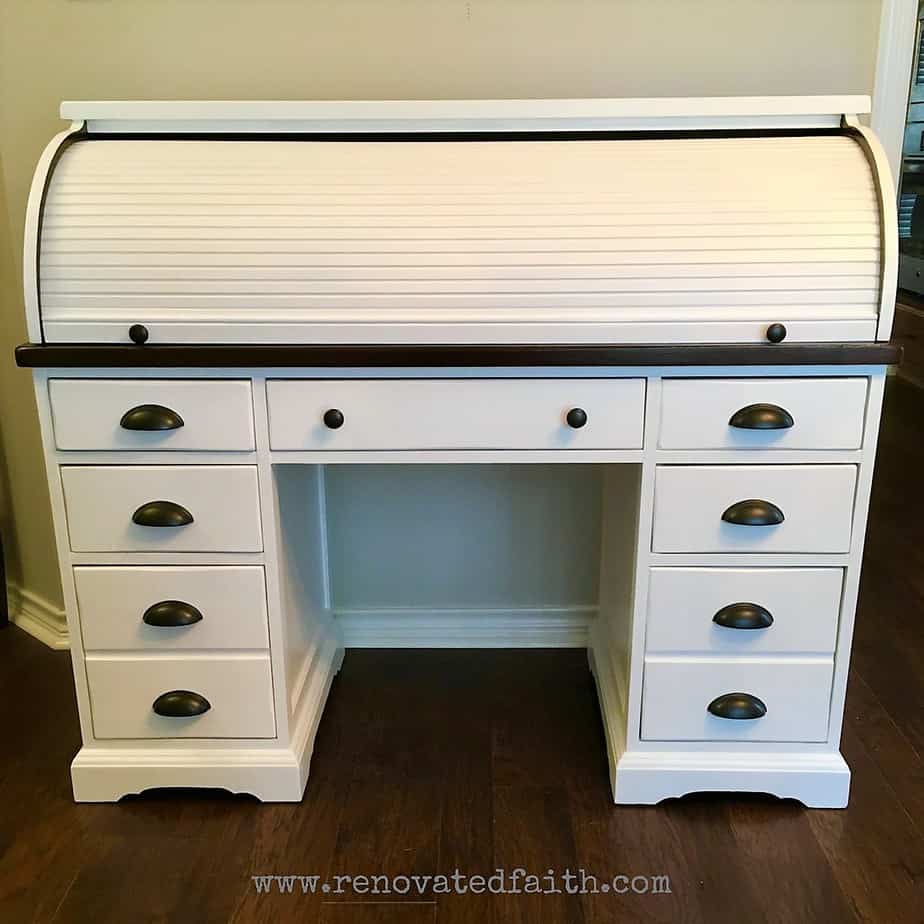
Back to the tambour…While I let each coat of gel stain dry for at least 24 hours, I laid the tambour flat on the physical and added a thin glaze of white. Once more brush off any excess. It was still a little streaky at this point but you will touch on that upward towards the stop
After the second and last gel stain coat, I added a glaze of wipe-on polyurethane to the stained parts. The overnice thing about latex paint and polyurethane is that you lot know that in 10 years the finish will look the same and be just as durable. Both finishes provide a clean, wipe-able surface that will not hold dirt hands.
I accept a friend that did her entire kitchen cabinets in chalk paint and wax. They looked fantastic but after only 6 months they looked awful because the porosity of the chalk pigment held on to every speck of dirt and dust in her kitchen. She ended upwardly redoing them in latex shortly later. (Getting off my soapbox now…)
Subsequently touching upwards the tambour one last time, I put the desk together including the master drawers, the top, and the tiny drawers. I too added new hardware to the whole desk including 'card catalog' fashion drawer pulls to the peak drawers. Didn't they turn out cute?
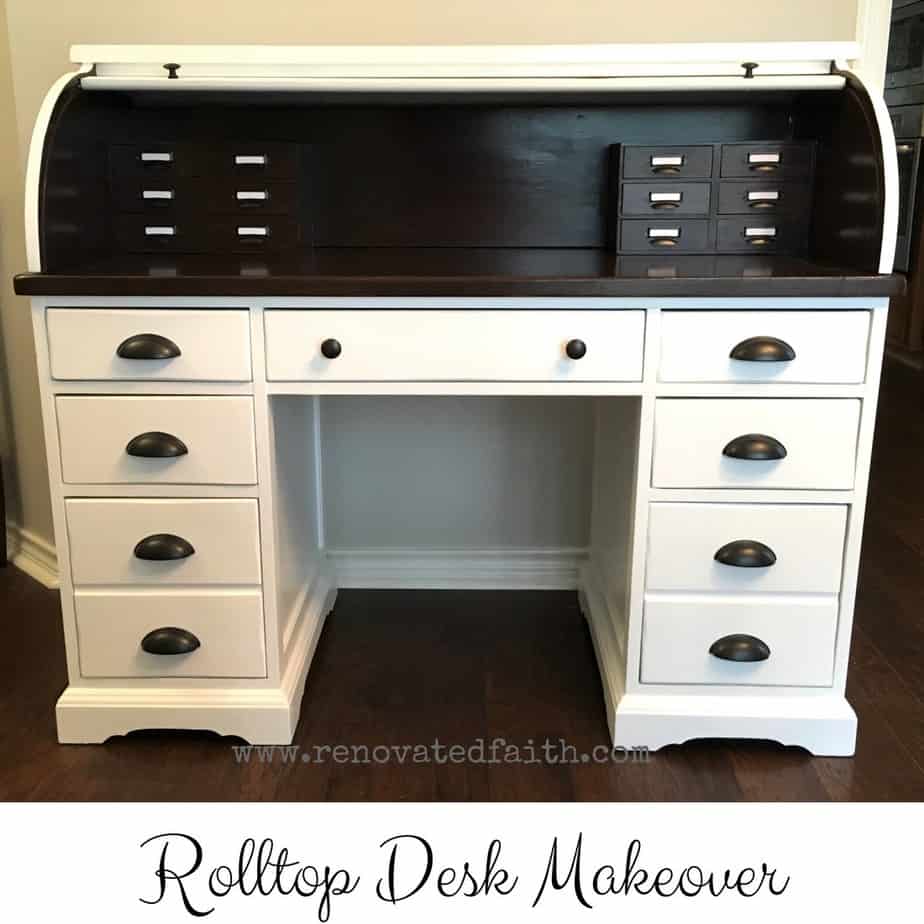

Notice the concrete floors in the background. We had a massive flood which I shared in my post Beauty From Chaos: How to Find Peace in Any Situation.
This desk was quite an undertaking just worth it to bring out the full potential of such a fabulous vintage piece. Thanks for stopping past and be sure to check out my other furniture transformations!
Writing Desk Makeover
Coffee Table Reveal and a Word Most Transparency
Made Over, Inside and Out – China Cabinet Transformation
How to Add a DIY Floating Desk To Any Closet
'Til Next Time,


Welcome to Renovated Faith, where I share well-nigh DIY projects, my faith and everything in between! When I'chiliad not spending time with my family unit, you lot will find me redoing furniture in the garage or watering plants in my greenhouse. This blog is nigh transformation. Anyone can renovate a house simply just God tin transform our hearts!
Source: https://renovatedfaith.com/the-right-way-to-refinish-a-rolltop-desk/
0 Response to "Diy Roll Top Desk Refinish"
Post a Comment